Over the past few weeks, I’ve shown you how to create overlays for your live videos and then how to set up a Facebook Live stream to use those overlays. To do this we use a free software named Open Broadcast Software (OBS). This week, I’m going to go one step further and explain how you can use multiple overlays together, to add transitions to your videos in real-time with OBS.
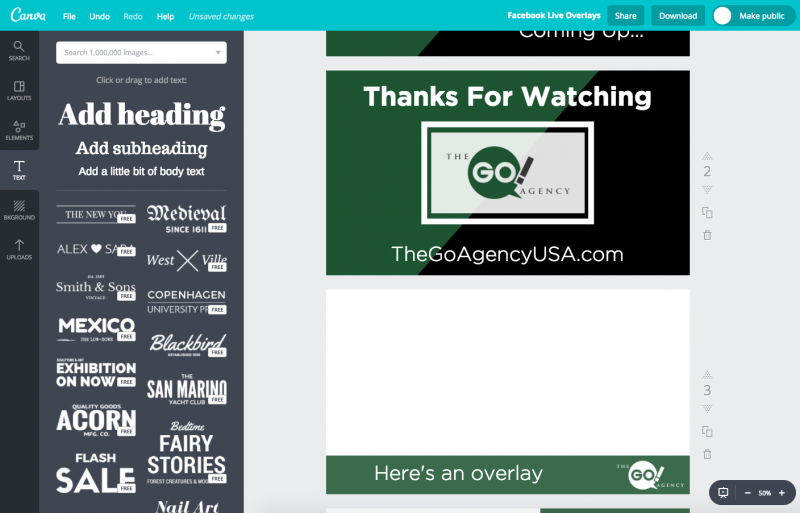
If you’ve watched one of our Facebook Lives recently, you’ll have noticed our videos begin and end with a title screen which fades away to reveal our video. It looks amazing and gives our videos a nice professional touch. It’s really easy to do with OBS too.

The first thing I’d suggest you do is to go back to our tutorial on creating overlays.
In order to do transitions, you will need multiple overlays to switch between. I suggest making the following:
- Intro overlay (1280×720)
- Outro overlay (1280×720)
- Overlays for video (1280×720, transparent)
We use Canva for our overlays, which allows us to keep all of them together and makes them quick and easy to edit.
Adding Scenes To OBS
In my previous blog post about creating overlays, I showed how to create a scene in OBS. In order to create multiple transitions, you have to create multiple scenes.
You’ll need a scene for each different overlay you plan to use. Since we always have an introduction overlay and an outro overlay, we create scenes for those. We then create scenes for each overlay in our video.
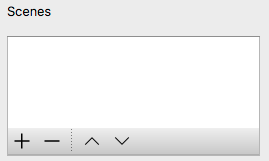
To create a scene, click on the “+” underneath Scenes in OBS.
Give the scene a name which lets you know what will be shown. This helps you know what scene you’re switching to.
Once your Scenes are created they should look like this:

Now you need to compose your scenes by choosing their elements underneath Sources. To switch between scenes, simply click on the scene you want to go on on the left-hand side.
Add your sources by clicking the “+” underneath Sources. First, you want to add your overlay which will be an image.

For scenes that need video, you should also add your webcam, by adding a second Video Capture Device source. Make sure the webcam comes below your overlay on your sources list or the overlay will remain hidden!
Switching Between Scenes
Once all your sources have been added your scenes are complete and ready to switch between. As mentioned, it’s easy to switch between them by clicking on which scene you want to go to next. Our Social Media Manager, Jamie, demonstrates:

You can change the type of transition used by selecting what you like underneath “Scene Transitions”, with the following default options:
- Cut – A straight change to the next scene.
- Fade – One scene fades away and the next scene fades in.
- Swipe – The current scene slides off the screen revealing the next scene.

Underneath you can also add advanced transitions by clicking the “+”. Or you change how long the transition takes by changing the duration number. If for example, you wanted your fade to last longer, you can increase the transition duration.
Now the one downside to these scene transitions is that when you’re doing your live videos, somebody needs to control the transitions in real time. In our case, we have one of our staff members change scenes when needed.
That means the people on video don’t have to worry about what’s on screen and can just focus on making the live as smooth as possible.
Related Posts
-
 You Need Facebook Dynamic Shopping Ads
-
 Facebook is Changing…Are You? How to Keep ahead of Constant Social Media Shake-Ups
-
 The Rise of Reddit and the Fall of Facebook: Is Your Company Prepared for the Shifting Social Media Scene?
-
 Why 62% of Small Businesses Fail at Facebook Ads
-
 4 Ways to Optimize Your Facebook Page