Are you ready to learn how to create Facebook Live overlays? Before we get started we wanted to give you an opportunity to check out our extremely popular Secrets to Zoom Success ebook – get yours below!
Now’s let’s get to it! If you’ve watched our Facebook Live videos, you’ve probably noticed that before we start, we have an image teasing our live video.
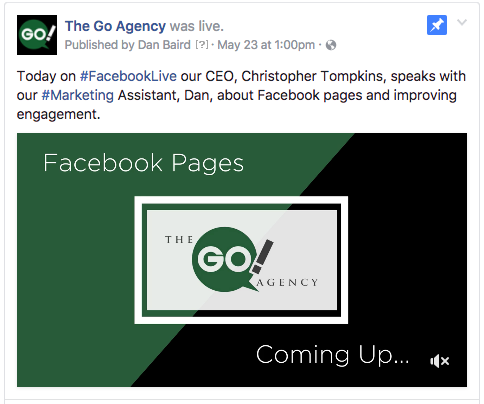
Throughout the video, we have an overlay underneath.

Then at the end, we have another image thanking our viewers for watching.
Overlays are a great way to make your videos look more professional and sleek. But the good news is they’re really easy to do. Which I’m about to show you.
1. Create The Overlay
To create our overlays, we use Canva. But you could use any image editing software. The main thing is, the image software has to let you do transparent backgrounds.
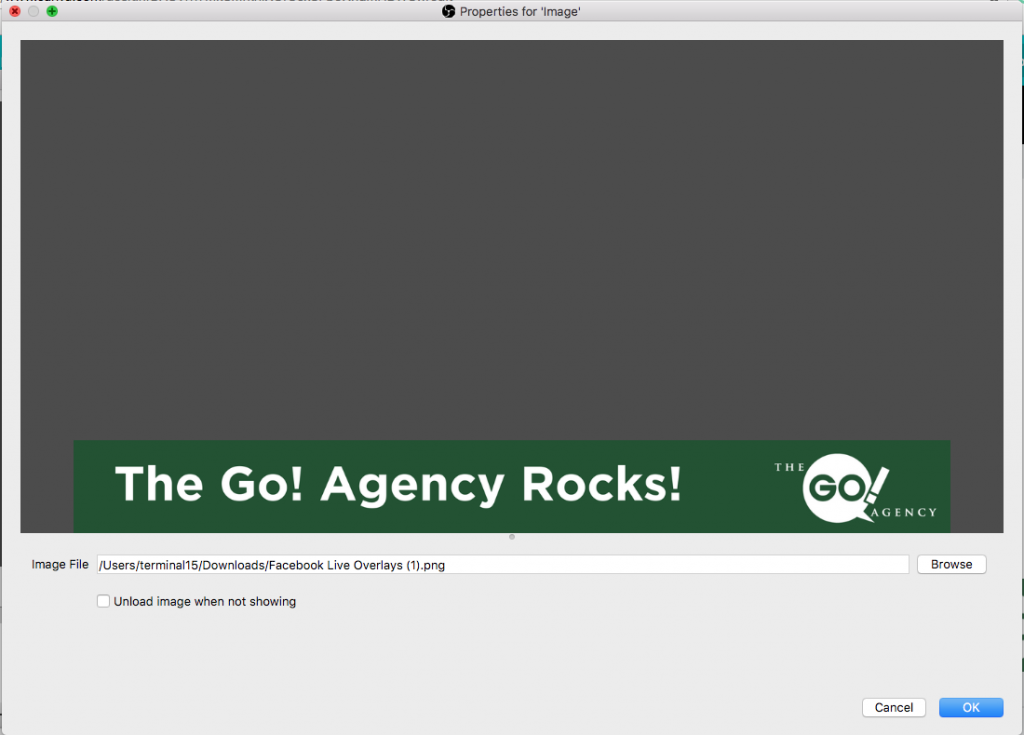
First, create an image which is 1280 x 720 in size. This is the standard size for a Facebook Live video. The image needs to be the same size, so it fits over the video perfectly.
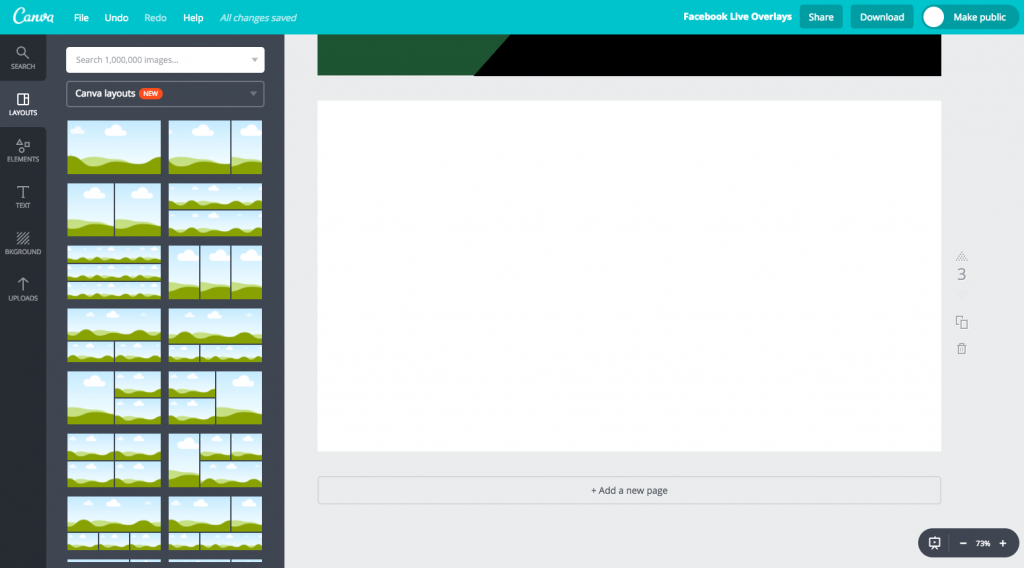
From there, it’s a simple case of designing the image for how you want it to look in your video.
Here, I’ve decided I want a bar at the bottom of the screen saying “The Go! Agency Rocks!” (Tip: If you make your bar a little transparent, you’ll be able to see a little of the video through it which makes it look nicer.)
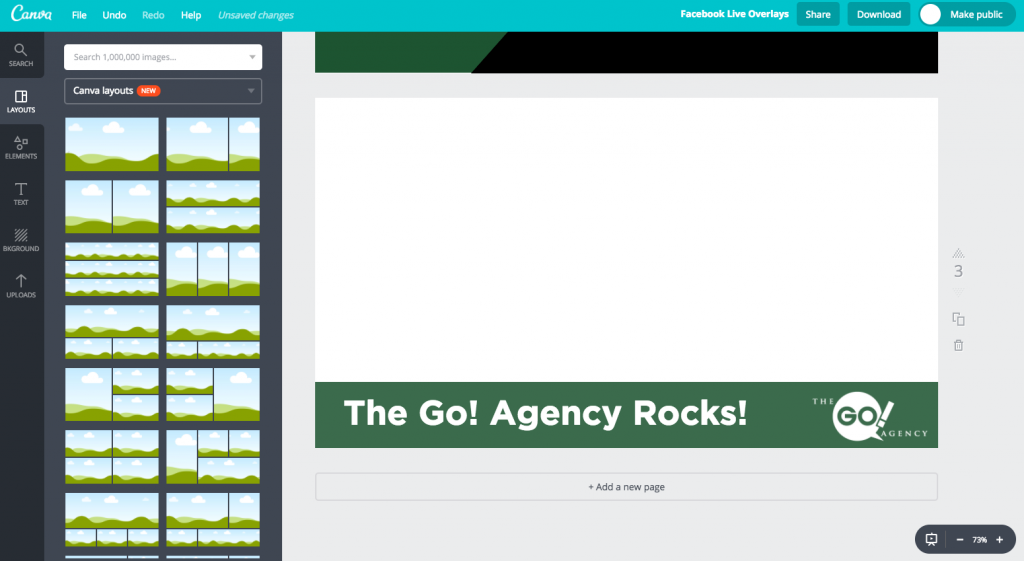
Now you’ll notice the rest of the image is blank. That’s a good thing. As mentioned, I want my background to be transparent for later, so I’ll be able to see the video.
When I now save the image in Canva, I have to tick an option for a transparent background.
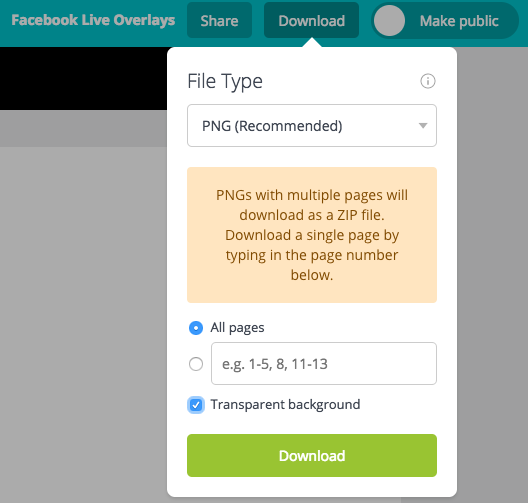
Whatever imaging software you use, make sure the image is saved with a transparent background and in a file that supports transparency (like a PNG). (Have I mentioned transparency enough yet?)
Ok. Step 1 was easy. Your image is done. Now how do you get it onto your video?
2. Using Open Broadcaster Software
Open Broadcast Software (OBS), is free software used by streamers in order to direct their videos and to add overlays.Instead of running our Facebook Lives through Facebook, we run them through OBS, which sends the information on to Facebook. That allows us to edit the video we send in real time.
Once you’ve got the software installed. Open it up. It will look something like this:
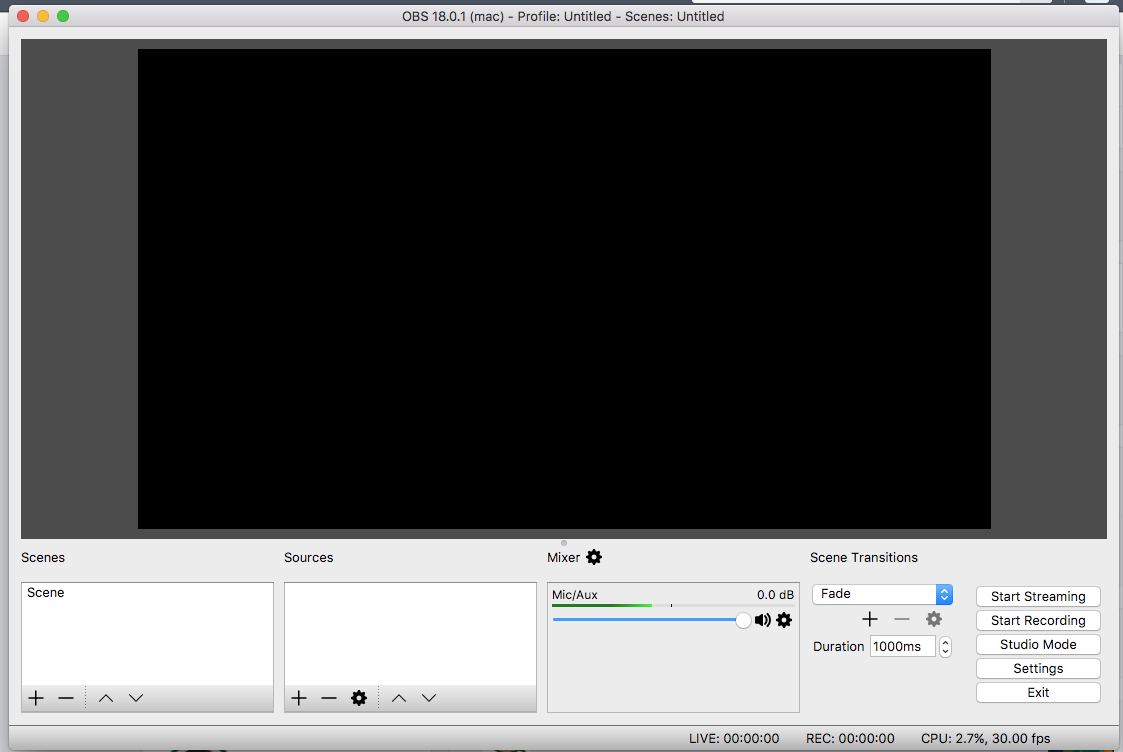 At the moment, we haven’t told the software what we want it to show, so it’s blank. So let’s first add our webcam.
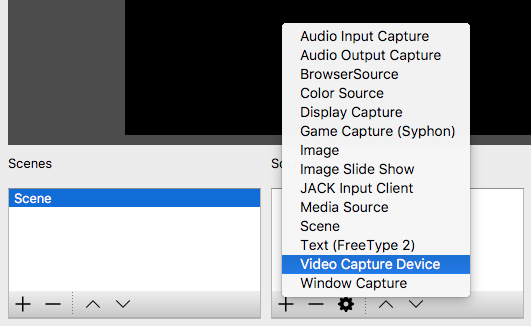
Click on the scene on the left-hand side. Then click the ‘+’ under Sources. This will allow you to add a source (choose what you’d like to show).
In this case, we want to choose our webcam so we’ll choose “Video Capture Device”.
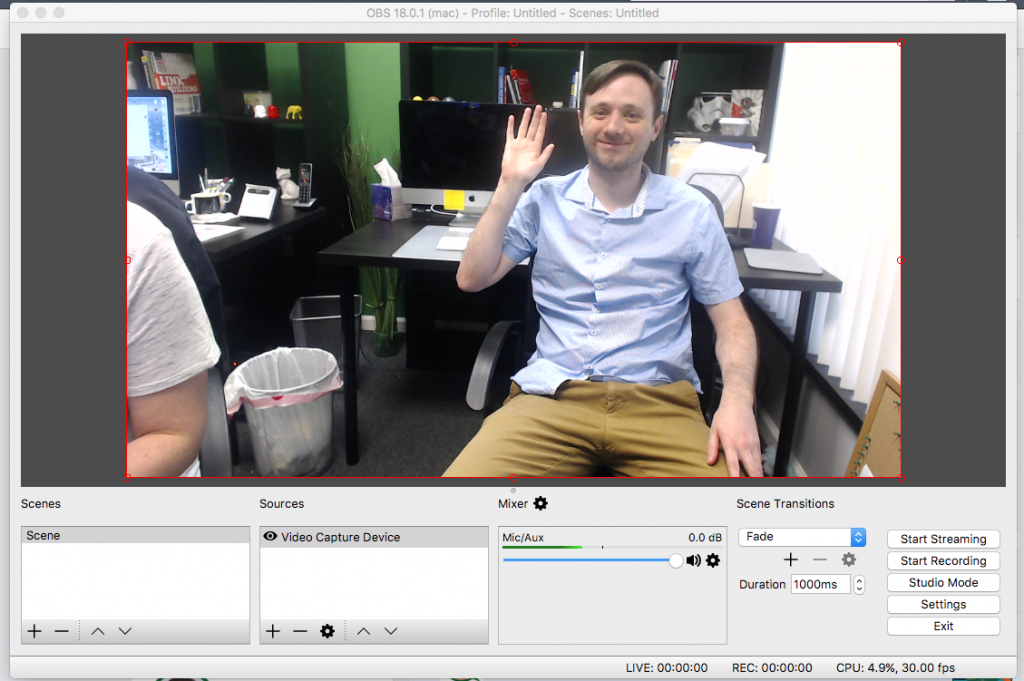
Then it’s just a simple matter of choosing the webcam we want to use. Choosing a preset (the larger the better) and clicking OK. Your webcam video should now show on the main screen of OBS.
Here’s our Marketing Assistant, Dan to demonstrate how it should look.
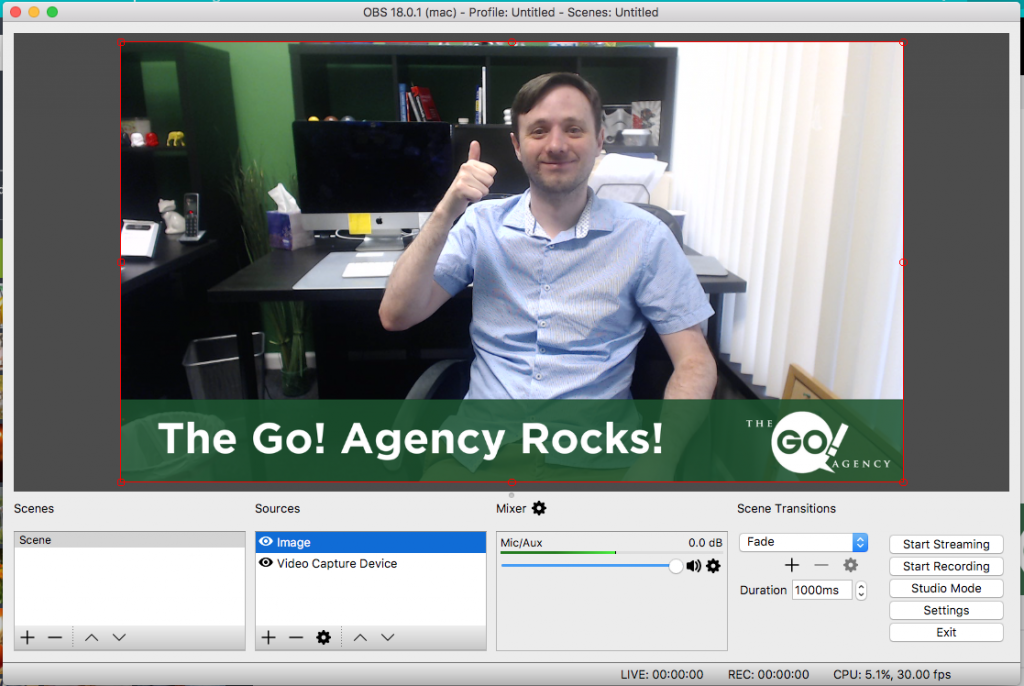
As I mentioned (multiple times) earlier, the top of my image is transparent. If it wasn’t, you’d be unable to see the video because it would be hidden beneath the image.
If you look at your list of sources, it should now look like this:
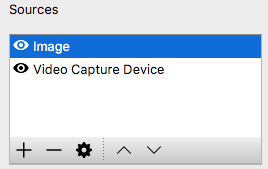
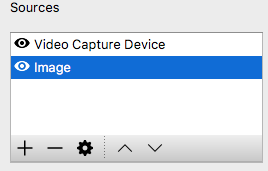
You’ll notice your overlay has disappeared in the preview above. Why?
Because your video is now on top of it!
Your video isn’t transparent, so you can’t see anything behind it.
Think of the top source as a piece of paper, the source beneath it as another piece of paper. If the top piece of paper is transparent, you’ll be able to see the next piece of paper. If the top piece of paper isn’t transparent at all, everything beneath it will be hidden.
So always make sure your overlays are transparent and above your video in your OBS Sources. Otherwise, you may not see them!
Now you’ve figured out how to add overlays to your video. See, nice and simple. But how do you start up your Facebook Live?
Well, I’m going to leave you on a cliffhanger I’m afraid.
Find out next week when I teach you how to start your stream from OBS and how to do some cool scene changes.
Can’t wait? Then sign-up to our newsletter below!